How I created this blog for free forever and how you can too
Almost all blog options out there, no matter how cheap, will cost you between $3-$100 to host per month. As a finance blog, I’ll guide you step by step on how you can create and reliably host a blog entirely for free forever!
There are three main parts to consider for a blog:
- Domain name - where readers will go to read about your blog
- Blog Platform - the technology used to run a blog
- Hosting - what infrastructure or service used to keep the blog running
Although there are many great options out there for all 3, the easiest being a hosted WordPress service, these all in one service can cost upwards of $100 a month. Even at the low end, it would be at least $3 a month! We’re a fire blog, and although you may have a great experience with a $3 blog, I’m here to teach you how to run a blog on a reliable service for $0 a month.
Some of these steps may be a little advanced and are targeted at a more technical audience, but I do try to make this as easy as possible. With determination and Google, I believe anyone will be able to follow these instructions and create an amazing blog for themselves!
Domain Name
Okay, this is the only part of the process where you can pay for a slightly better experience. I will admit, I did pay for my cool .com domain name, but there are plenty options out there that are completely free! You can register a .tk domain name completely for free here!
Blog Platform
There are plenty of great platforms out there to write blogs, but we are going to choose a static site generator. There are a couple to choose from including React and Jekyll. We are going to be using Jekyll which is an absolutely amazing static site generator. It is so cool that former president Obama used Jekyll for his presidential campaign!
The benefit of a static website is that there is no database or API that your website needs to communicate with. What does that mean? You can read a little more here but without being too technical, this means the following for your website:
- 👍 A much more secure and safe website - you wouldn’t have to worry about anyone getting into your CMS. Your website can’t be hacked, because there is no database or API to hack.
- 👍 A much faster website - because there’s no dynamic functionality, a lot of the content can be cached and delivered to your readers much faster
- 👍 Much cheaper hosting solutions - you can host your website from anywhere that just provides static files such as github
- 👎 Harder to manage for the non-technical crowd - there’s no CMS built in and you may have write your articles in a HTML superset language called Markdown
Hosting
Since we made a very amazing choice by using a static website, we can host our website almost anywhere. I chose Netlify but if you don’t mind anyone seeing your source code (or paying for Github pro which includes private Github sites), you can also use Github, an Amazon S3 bucket or anywhere where you can host public files to host your sites.
Step By Step Guide
- Register a
.tk,.ml,.ga,.cfor.gqdomain name for free here - Click the
Get it now!button for the domain you would like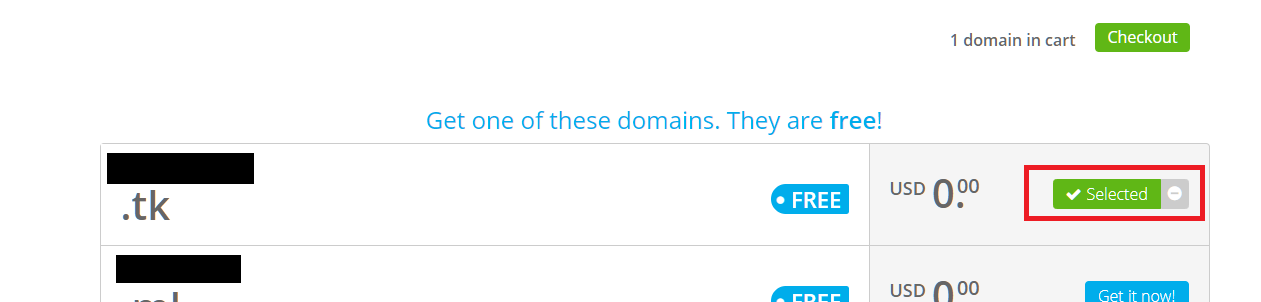
- Go ahead and get the domain. It is free for 12 months, and after that, you can renew it for free for another 12 months.
 And that’s it for getting your free domain.
 - Next, we want to choose our blog platform of choice. Navigate to Jekyll’s website and follow their getting started guide. I won’t go over the installation instructions in details as they are all available on the website.
- Now that Jekyll is install, and you are able to run
bundle exec jekyll serveand see a default blog, it’s time to pick a theme. I would browse this website and find a theme you like the most (all of these are free)! You can also follow this tutorial for choosing a cool theme.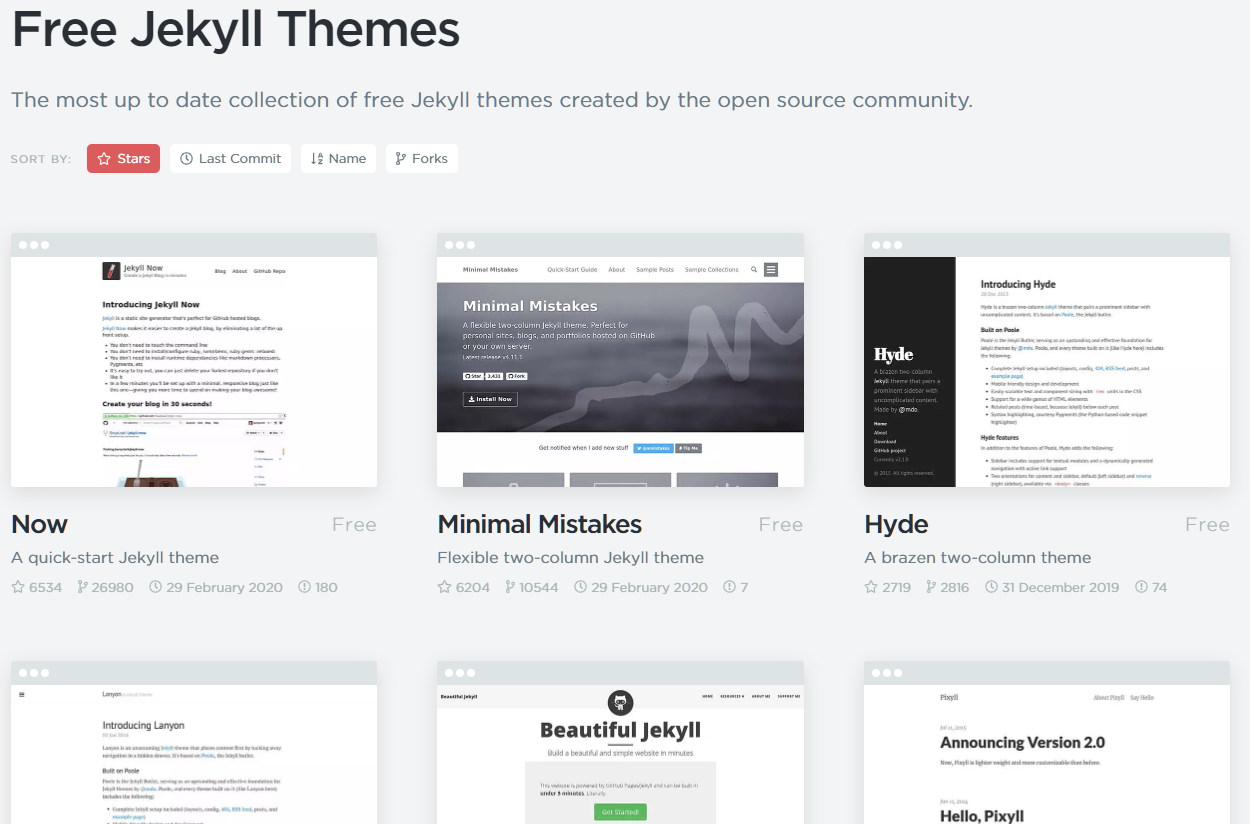
- After choosing and installing your theme as a Jekyll gem, it’s time to host your website.
- In your website directory, run
git init. If you are using a Windows computer and don’t have git installed, download git first. Then push to your repo of choice. I would suggest Github for easy integration with Netlify. - Once your Github is all set up, sign up for Netlify and click
Create a new site. From here, it’s a guided tour to correctly authorizing Netlify to your Github repo. Netlify actually has a great tutorial on how to do this here - A Step-by-Step Guide: Deploying on Netlify.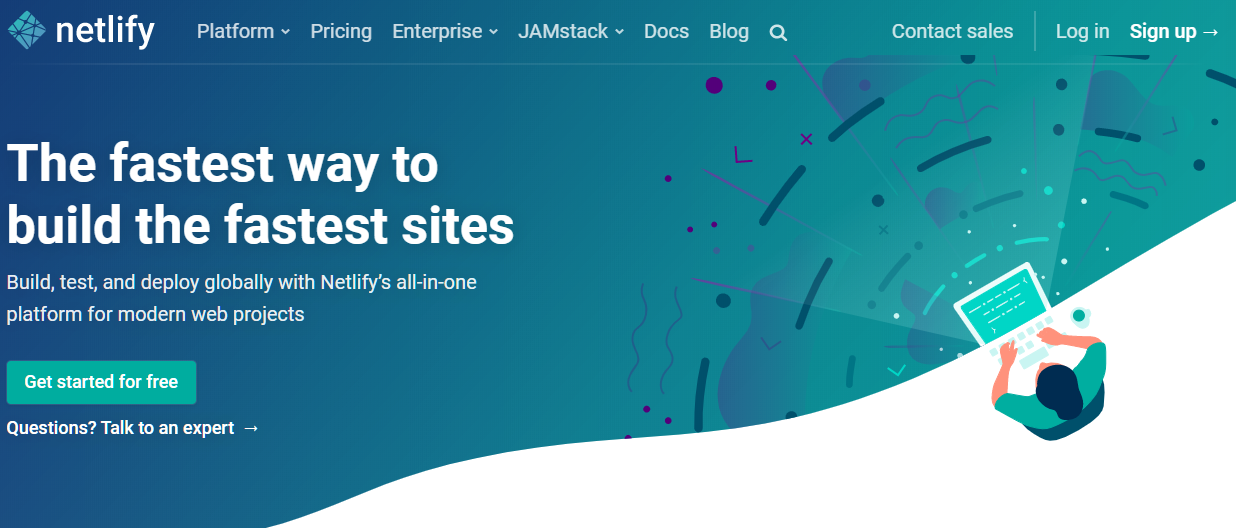
- At this point, your blog should be up and running!
That’s it! You have your own static blog - it’s on to marketing and on to writing the world’s most amazing content. 😃